When it comes to ensuring that your paint project is a success, it’s essential to learn how to prep a room for painting.
Painting a room is a popular project for veteran renovators and DIYers alike. After all, it’s relatively inexpensive, pretty painless, and should something go wrong, easy to fix. However, before getting hold of your roller, it’s important to have a plan.
This step-by-step guide will give you a comprehensive look into every aspect of preparing a room for painting, from clearing the room to sanding, cleaning, priming, and eventually getting the walls ready for painting without any hassle.
Let’s dive in…
Step 1: Clear Out the Room
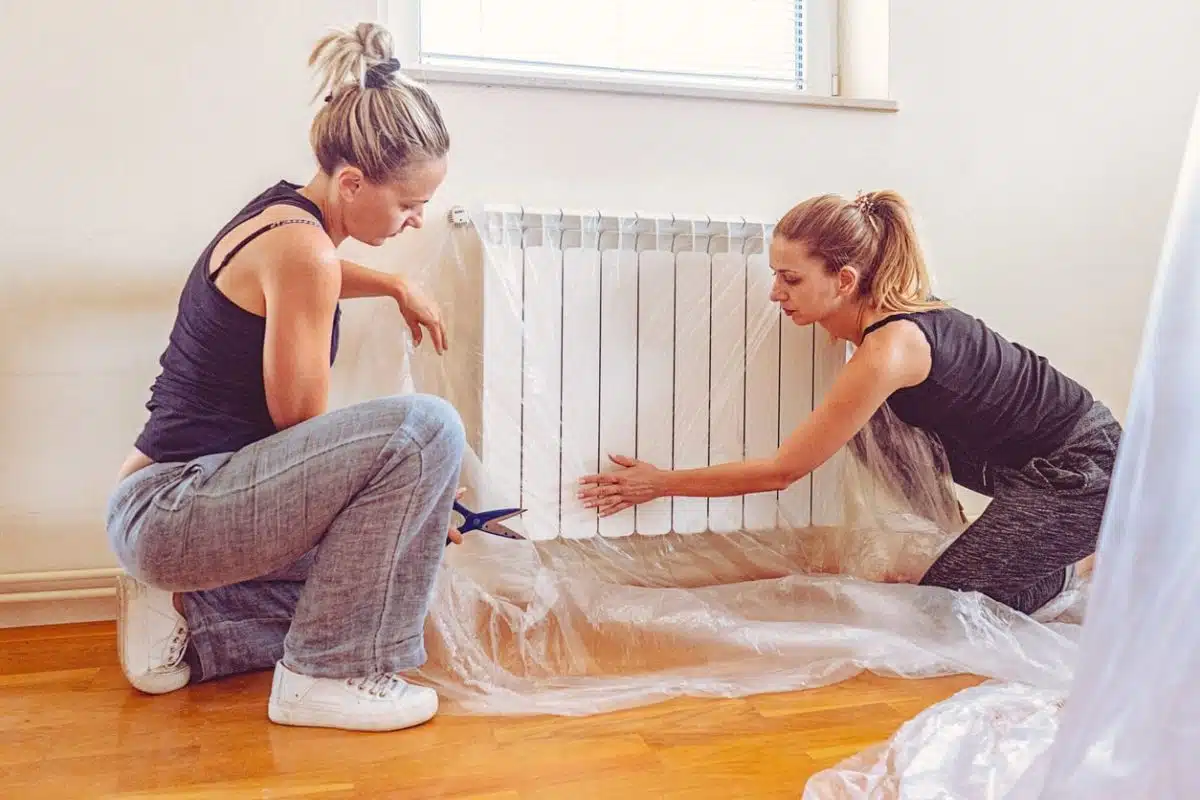
Take out any furniture that’s in the room, either by yourself if it’s easy to move or have a friend help you carry it around if it’s heavy. If nobody can help you, leave it in the room and cover it with plastic. Also, if there’s no space to move furniture to a different room, make a stack at the room’s center and cover it with plastic as well.
Next is to get rid of anything hanging from the walls. Takedown any pictures or artwork on the walls and keep them in a clean space. If you can, remove any vent covers.
Remember to turn off any circuit breakers powering the room and set up a work light. If there are any lighting fixtures on the ceiling or wall, you can either remove the fixture or cover it with plastic to protect it while painting.
Detach all outlet covers and switch plates using a Phillips or flathead screwdriver and store the screws and plates in a small bag, so you don’t misplace them. Make sure to cover the exposed outlets with painter’s tape to protect them.
Step 2: Clean the Walls Before Painting
Clean walls are a vital step to prep a room for painting. Even though there’s no ideal way to clean walls before painting, most walls can be scrubbed using warm water and a sponge. For surfaces with grime or oil, such as kitchen walls, it’s best to wash with a solution of grease-cutting detergent and water followed by clean water to get rid of any residual cleaning agent. Lastly, wipe the walls with a damp cloth.
The most vital part of this process is to ensure everything dries meticulously. Applying paint or primer to damp walls can cause various issues, including paint bubbling and blistering.
Step 3: Remove Mildew
Regardless of the room you’re planning to paint, ensure you remove any mildew first. Never apply any paint on mildew as it will grow through paint, making maintenance and cleaning an uphill task.
To get rid of any mildew on the wall, clean with a sponge and a solution of bleach and water. The amount of water used should be more than the amount of bleach used (approximately three to four parts water to one part bleach). Apply the solution gently and allow it to settle for a few minutes. Next, scrub the desired part with a soft brush and rinse thoroughly with clean water. Wear goggles and gloves throughout the entire process and allow time to dry.
Step 4: Sand the Surfaces
Use a lightweight spackling compound to fill and repair holes or imperfections. Let dry according to directions and lightly sand. While sanding is not a must for every painting project, rough spots on walls need to be sanded in order to prep a room for painting. Use a sanding block or sandpaper to dull, uneven surfaces and then wipe off dust with a damp cloth and let it dry.
Step 5: Prime Walls Before Painting
To get the most out of your paint, make sure to use a primer, especially if the walls contain surface stains that need covering or if the walls are porous. Primers mask imperfections, offer a smooth surface for your paint to blend in and stick perfectly, and also ensure a uniform finish, regardless of what you’re painting.
There’s a primer for every substrate and project.
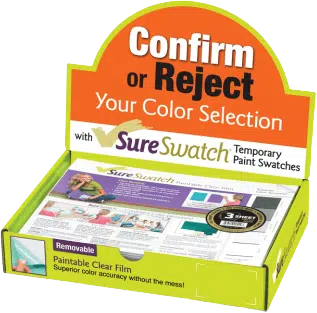
The SureSwatch Primer Decider Scale helps you determine whether you need a primer before the project. At SureSwatch, we offer excellent products that help you choose the right paint color by getting rid of the wrong ones.
Now Your Room is Ready for Painting!
Now that you’ve prepped the room, make sure you choose the right colors and shade of paint for your project.
You will always choose the right color by using SureSwatch, no matter what color scheme you choose or where your paint ideas come from.
SureSwatch is a paintable clear film used to create removable paint sample swatches to approve or reject your paint colors.
Select your final 3 – 5 paint colors, paint a SureSwatch, and test it on the wall. Remove the colors you don’t like to make room for the ones you do.
For more details or questions on how to prep a room for painting, visit your local SureSwatch retailer or contact us.
Good luck!


