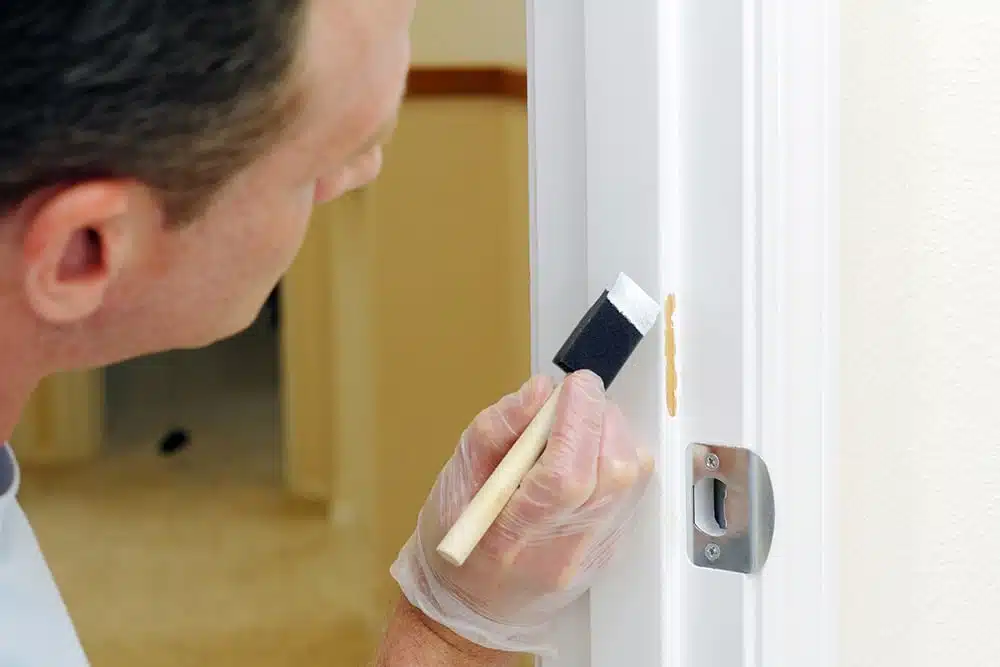
Knowing how to touch up paint will make sure your freshly painted house stays how you like it. There’s nothing like a freshly-painted house — whether you’ve just moved into it or have recently had the painters out to give your house an overhaul. In the days and weeks afterward, however, life happens. The delivery guys bump your new couch into the wall as they bring it around the corner. Your daughter runs down the hallway, scratching her princess fairy wand all the way down the wall . Meanwhile, your son has taken to bouncing his soccer ball off the wall.
As dogs wrestle, book bags get thrown, and sports equipment is slammed around, your home’s interior paint job has begun to look rather sad in places.
Thankfully, there’s no need to call the painters back out to or for you to prepare for a top-to-bottom interior paint project. Touching up an interior paint job can often make it look as good as new. Here are a few tips to help your touch-up job go much more smoothly.
Taking the Hassle Out of Matching Paint
If it’s been a while since the initial paint job, you likely don’t remember your color choice. A word to the wise: the next time you paint your home, save your leftover paint. If you have a bucket of water-based acrylic or latex paint that hasn’t been opened, it will last for up to 10 years. Opened buckets will only last for two years, but that’s long enough to get you through the initial touch-up. Even if the paint’s no good, it will be easier for the paint store to match the color if you bring in the bucket with the label and paint name/information.
Use SureSwatch to Test the Color First
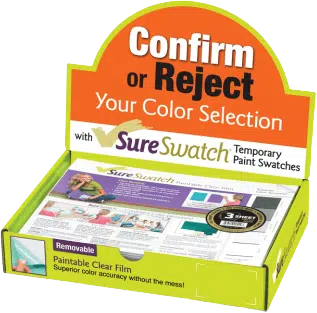
If you’ve tossed out your original paint, no worries! Many paint stores use color-matching technology. They can work with you to find new paint that’s the right hue. When you get it home, however, it’s important to test it out before you roll it on in different parts of your home. SureSwatch is a great way to try out a paint sample before painting it on permanently. Simply paint two coats on to a SureSwatch (letting it dry in between coats). Remove the backing, and stick it on the wall where the touch-up is needed. The great thing about SureSwatch is that it peels off and sticks again very easily. This lets you test it out in different areas where touch-ups are necessary. You can see the color in different lighting conditions to make sure it’s right.
Touching Up an Interior Paint Job
Touching up an interior paint job isn’t hard, but you will need to follow the proper steps to ensure that the job is done right and the touch-up looks like it was done by a professional.
- First, wipe the area to make sure what looks like a ding or scratch isn’t just a blemish or dirt. You’d be surprised at the places that only look like they need paint until you give them a good wipe-down.
- Is it still dented, scuffed, or dinged up after you’ve cleaned it with soap and water? Then rinse it and dry it with a soft cloth and let the paint job begin!
- Prime the part of the wall to be touched up. Every SureSwatch has a tool on it to help you choose the proper primer.
- Use the same technique that was originally used to apply the paint, whether it was a brush or a roller.
- Thin out the paint a bit (by 10-15%). This will help the new, thinner layer of paint better match with the thick, older layer.
- Use the brush or roller to spread the touch-up area out and slightly over the surrounding area to blend it in.
- Keep in mind that wet paint looks darker than dry paint; let the area dry before applying another coat.
Whether you’re spring cleaning or simply fed up with the way the house looks, paint touch-ups are definitely a project that’s worth it. Touching up an interior paint job takes a little time and patience, but once it’s done, you’ll be pleasantly surprised at how refreshed your home will look!
Learn more about touching up an interior paint job by visiting our blog!
Find SureSwatch at Home Depot, Walmart, and Ace Hardware.


