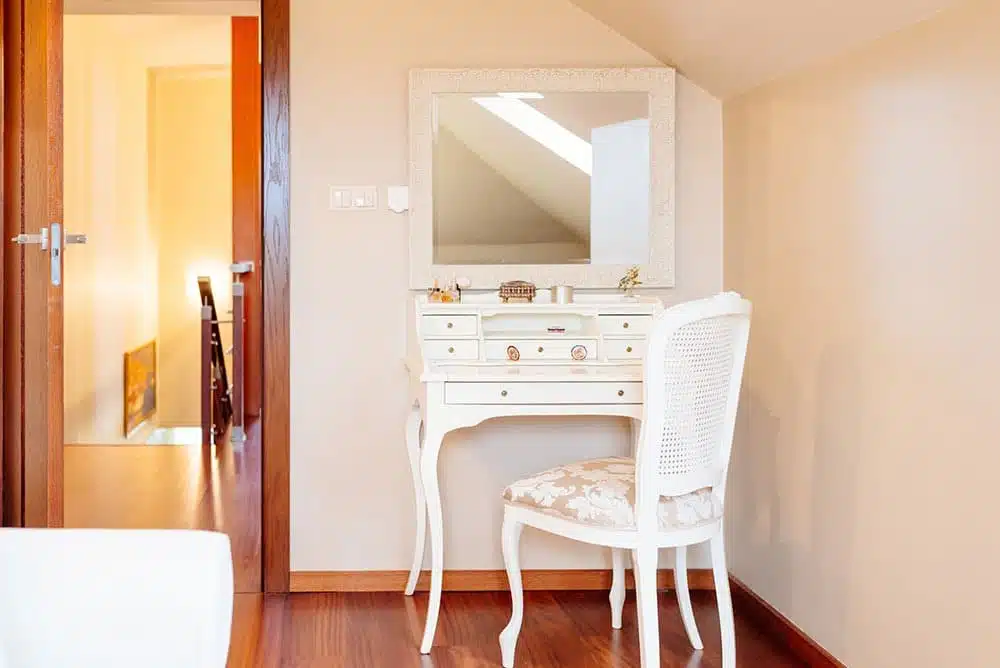
Updating a bedroom vanity is a great way to add a new dimension to an existing room. All you have to do is flip on a home improvement channel or peruse YouTube to see that DIY paint projects are all the rage. Millennial’s and first-time home buyers are finding these projects can save money by taking them on yourself. They are also provide a sense of accomplishment.
Updating and repainting older furniture is one great way to save cash while making your house a home. One of the most popular DIY furniture projects is redoing a bedroom vanity. From changing out the hardware to painting it, you’ll be surprised at how you can take a vanity from “meh” to a mesmerizing piece of bedroom furniture. Doing so isn’t hard, but it’s important to avoid these common mistakes made by home improvement newbies.
The 3 Most Common Mistakes People Make When Redoing a Bedroom Vanity
Mistake #1: Skipping Sanding
One mistake most people make when redoing a bedroom vanity is trying to save time by skipping the sanding process. Sure; you can get right to the painting, which is the fun part. You’ll avoid the noise or the frustration of sanding away at the entire piece of furniture by hand. You also won’t have any dust to clean up.
You know what you’ll also have? An entire paint job that’s likely to flake and peel off, causing you to have to do it all over again. If you paint a surface — and especially a coated or varnished surface — without sanding it first, this is the kind of result you can expect to get.
This is why it’s essential to sand the surface first to give the primer and paint something to adhere to. If you don’t want to sand by hand, you can buy a liquid sander; just read the label to make sure it will work with your vanity, as well as you primer and paint.
Mistake #2: Skipping Priming
Do you notice a pattern here? Most of the mistakes you’ll make when redoing a bathroom vanity won’t be things you’ll do wrong; rather, they’ll be steps you skip while trying to make the process more speedy. Alas, skipping the priming step is another mistake that will likely make you end up having to do the entire project over again.
When you apply primer to unfinished wood, it helps fill in the wood grain so you get a more uniform paint job that sticks well and looks great. Since you’ll be sanding the wood first (Ahem! Mistake #1?), it’s an easy assumption that the surface you paint will be unfinished. If you’re going to do the job, do it right — and take the time to prime before opening up that paint!
Bonus tip: If you’re unsure of which primer to use, refer to a SureSwatch Primer Decider scale first!
Mistake #3: Refusing to Test the Paint First
“The paint sample chip looked like a great color when I held it up to the vanity.” “Look in the paint can! That color is gorgeous!”
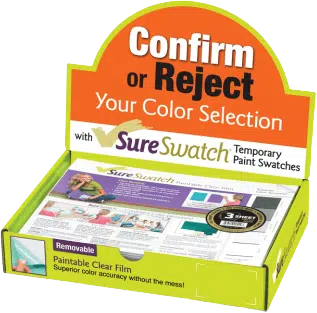
No, no, NO. The final mistake you’ll make when redoing a bathroom vanity is not testing the paint — and the actual paint; not holding up a sample chip! — on the vanity itself before committing to a color. SureSwatch makes this easy with paintable and removable paint swatches.
Why test your color first? It gives you the chance to see what it will look like next to the wall color, as well as when paired with the other decor in the room. Most of all, it gives you the chance to see what the paint color will truly look like when painted on and not as it exists on a sample chip or in the paint can.
DIY paint projects like redoing a bedroom vanity are fun to take on and satisfying to finish. You’ll get the best results, however, if you do your homework, take your time, and do things right the first time.
Want more tips on redoing a bedroom vanity and other home painting projects? Check out our blog!
Find SureSwatch at Home Depot, and Ace Hardware.


