Painting Tips and Tricks
If you are new to room painting, you may find yourself feeling overwhelmed. Maybe you’re unsure of where to start, what to get, or, quite frankly, how to actually go about room painting. First thing, take a deep breath and keep reading. Interior painting is something that can be done on your own without professional help. This guide will help you learn how to paint a room with pro tips included.
Choosing the Right Supplies
First and foremost, you should know what supplies you need for room painting. Supplies are a bit more complicated than just the basic paint and a paintbrush. You need supplies to protect everything you don’t want painted on, as well as tools to help you get the job done efficiently. If you only use basic brushes for the whole room, you will be painting for days on end and be left with uneven colored walls. It is also important to get high quality supplies, as you will thank yourself later. With this in mind, must have room painting supplies are:
- Canvas/drop cloths
- Flat brushes
- Painter’s tape
- Paint roller/ roller covers
- Paint tray and liners
- Paint/Primer
- Stir sticks (these are free!)
- Masking Tape
Beyond those, it could prove useful to have a few additional tools for room painting like:
- Angled paint brush (regular or sponge)
- Roller extension pole
- Screwdriver (for removing outlet covers)
- Flathead screwdriver (for opening paint cans)
- Rubber hammer (for closing/sealing paint cans)
- Ladder
- Rags
- Spackling/putty knife
Painting Techniques
For the best painting results, you need more than supplies – you need great technique too. Here are some room painting tips and tricks used by the pros:
Brushes and Rollers
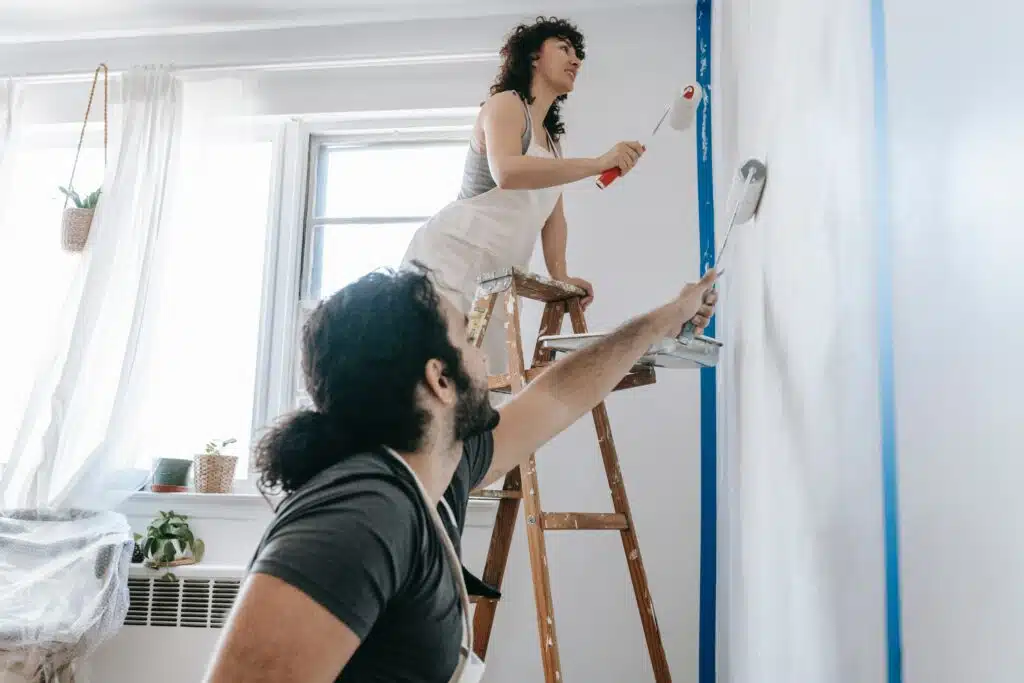
As mentioned before, painting the entire room with a brush will take you far too long so it is best to utilize a roller for faster painting. This will dramatically increase the room painting speed. Rollers also help the paint apply more evenly compared to brush strokes. Another benefit to a roller is the optional extenders. This helps you reach those high up places without needing to balance on a ladder.
Don’t be throwing out those paint brushes just yet though! Paint brushes are great for the edged and trim portions. They can get smaller spaces with more accuracy. You can also opt for a sponge brush over one with bristles to get even more precise, straight lines.
Room Painting Order
Because paint drips, a good rule of thumb is to paint from the top down. Experts suggest the steps to painting a room goes as follows:
- Painting the ceiling
- Painting the crown molding
- Painting the walls
- Painting the baseboard
- Painting window and door frames
You should also be doing one wall at a time. Refrain from doing all the edging and then all the centers. This will be easier in the end. Focusing on tackling one wall at a time until completion will result in more seamless room painting.
Steps to Painting a Room
When done correctly, painting a room can be easy. Remember to follow the instructions and take it step by step. This will be a lengthy process, but well worth it for homeowners.
1. Make a Plan
The first step to any home improvement project is to plan it out. Look online (hello Pinterest!) for inspiration. Begin to get a general idea of what you want to do. Have some colors in mind and begin thinking of how you will be decorating to match your painted walls. Now is also a good time to plan when you are going to complete the project. Painting a room takes anywhere from 2-4 day with drying.
2. Choose Color
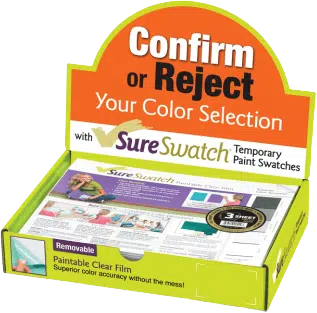
After you have a general idea of what you want the room to look like, the next step is to start picking out colors. Gather paint chips and then paint samples. See how different hues would look in your space. Products like SureSwatch Stick-and-Peel Paint Stickers help you avoid putting paint samples directly on your wall. Remember to look at the samples in different lighting to get the best idea of how it will look.
3. Gather Materials
The next step is to gather the materials mentioned above. Not all brands and supplies are created equally! Quality supplies make the whole process go smoother. Additionally, check with your paint store employee that you are purchasing the correct materials. For example, different paint rollers are made for different wall textures. Save yourself the headache and start off with the correct supplies.
4. Prep Space
This is a room painting step that is often overlooked but actually very important. Room prep goes beyond just laying down a drop cloth–although you need to do that too for spills. Room prep includes:
- Clean the surface. Use a warm water or a mild soapy water solution and scrub down all your walls with a damp cloth. Most walls will only need warm water and a sponge to clean. However, for surfaces that have been exposed to oil and grime, like kitchen walls, you likely will need soap or grease fighting solutions to clean them thoroughly. Cleaning the walls first will make the paint application smoother. Don’t forget to let the walls dry before painting!
- Filling in holes. Use spackling and a putty knife to patch up any holes or cracks your walls may have endured. Once again, wait for it to dry before painting.
- Remove light switch/outlet cover. This will provide a much cleaner result than taping them. Be sure not to misplace the screws!
- Remove furniture. Even the pros end up with some paint platters. Remove anything you don’t want paint on. If you are unable to remove it, cover it with a plastic drop cloth or sheet.
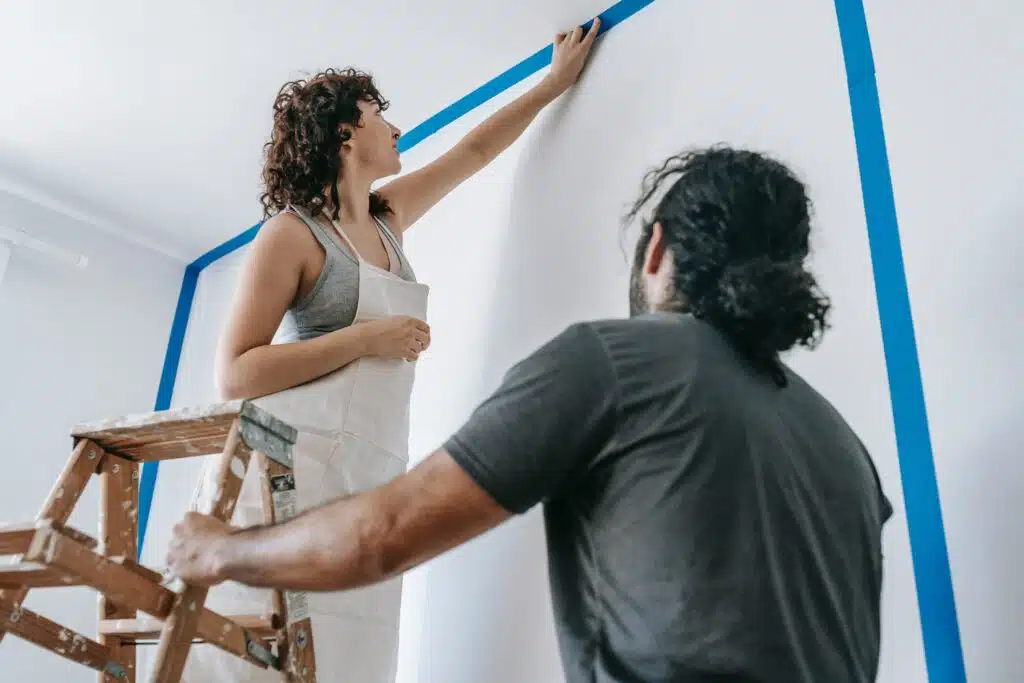
- Tape edges. You will want to tape doors, windows, baseboards, or anything else you want to avoid getting paint on. This will also result in more crisp lines in the end.
- Establishing ventilation. This is critical! Wet paint will produce fumes that could potentially be harmful so you do not want to be trapped in an enclosed space. Open windows and doors and set up fans. It may also be a good idea to wear a mask.
5. Paint
Finally, it’s time to paint! Before you pour paint into the trays one gallon at a time, you should “box” your paint. Boxing paint is when you pour all the paint into a single container (like a 5-gallon bucket) and mix them together. This will make certain that all your walls are the same color since the paint color may slightly vary from can to can. Moreover, it is also best to apply a second coat of paint to your walls.
6. Clean Up
We recommend leaving the cleanup until the next day while the paint dries. Once the paint starts to dry, you may notice patches that you need to fix. You will want your room still covered for touch-ups. After you are happy with the results, remove the covers and tape and put the furniture back in place. Keep your paint cans in storage, so if you ever need touch-ups, you have the color!
Final Room Painting Tips
All things considered, DIY room painting should be an enjoyable experience. Play some music or a podcast to make the most of your time working. You could even enlist some friends or family for a weekend and share your newfound knowledge of all the room painting tips and tricks you learned. Remember to take your time, use high-quality supplies, and try to make the paint even for the best results.
About the Author
Always a problem solver, Jamie Peltz looks at common everyday problems from a different perspective. After 17 years of working for a corporation, Jamie found herself unemployed. She saw this as an opportunity to follow her dream to become an entrepreneur. Over the years she and the team have received multiple patents and been able to commercialize a few of their inventions.
Jamie is a graduate of The Ohio State University and received her MBA from John Carroll University. She also participated in the Goldman Sachs 10,000 Small Business Program and is currently Treasurer for NAWBO- Cleveland (National Association of Women Business Owners). In addition to her work, she enjoys hiking and spending time with her family.


